
We don’t often use the word scalding in modern language, but when it comes to milk, it’s actually a very welcome one any day. There are important reasons a recipe may call for scalding milk – for function, flavor, and texture in your culinary projects — and the process of creating it is not a difficult one if you know the simple steps and tell-tale signs.
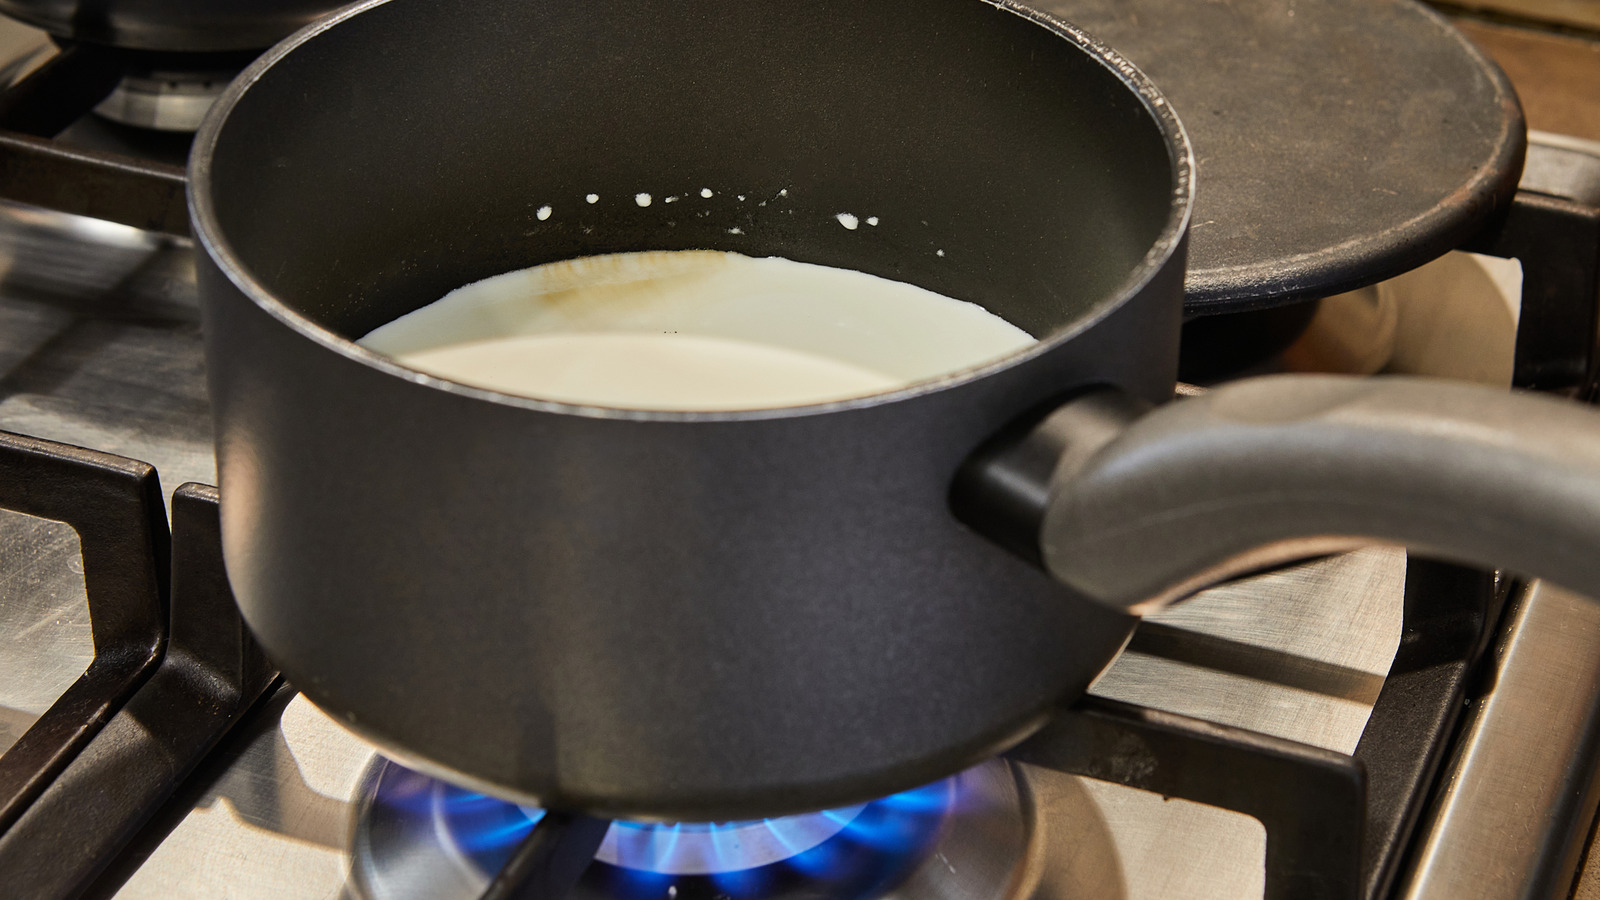
When you want to scald your milk, all you need is a heavy-bottomed saucepan (these are best for even heat distribution) and a carton of cold milk, along with an implement you can use for stirring (a rubber spatula works well here). Over medium heat, warm your milk but make sure to keep it moving as the temperature rises. The agitation will help keep your milk from developing a film (although there are some culinary uses for this milk skin, too).
There are two primary ways to tell that your milk is properly scalded. You can use the old school method and gauge by sight, keeping an eye on the edges of the surface. Once you see bubbles around the sides of the saucepan, you’re in good shape (just keep in mind you want small bubbles, not a rolling boil). The more modern method is to use a handy thermometer. When your milk hits 180 to 185 degrees Fahrenheit, it can be considered scalded.
Finishing, flavoring, and using your scalded milk

You can use this method with any kind of milk (skim, 2%, and whole milk included), and if you stick to non-dairy options like oat or almond milk, you can also follow the same process. Perhaps you’ve had a chance to thumb through a beginner’s guide to baking with yeast and know that this stuff won’t survive the heat (yeast is killed at temperatures above 138 degrees Fahrenheit), so once you’ve completed these steps, you’ll want to allow your milk to cool. There are some differences of opinion, but generally speaking you’re looking for your liquid to come down to about 110 degrees Fahrenheit.
Once you have your scalded milk, you can put it to use in so many recipes, helping breads to rise, bringing fluffiness to cakes, and creating smoother batters by melting butter. You can also take the opportunity to infuse your milk during the scalding process — try aromatics like vanilla, spices like cinnamon, herbs like mint or thyme, or a citrus zest. This added step will bring a flavor boost to recipes from baked goods to frozen desserts, custards to pastry creams, and will even make your instant mix hot chocolate taste like heaven. No matter what you call it, this heated milk has major culinary power.


