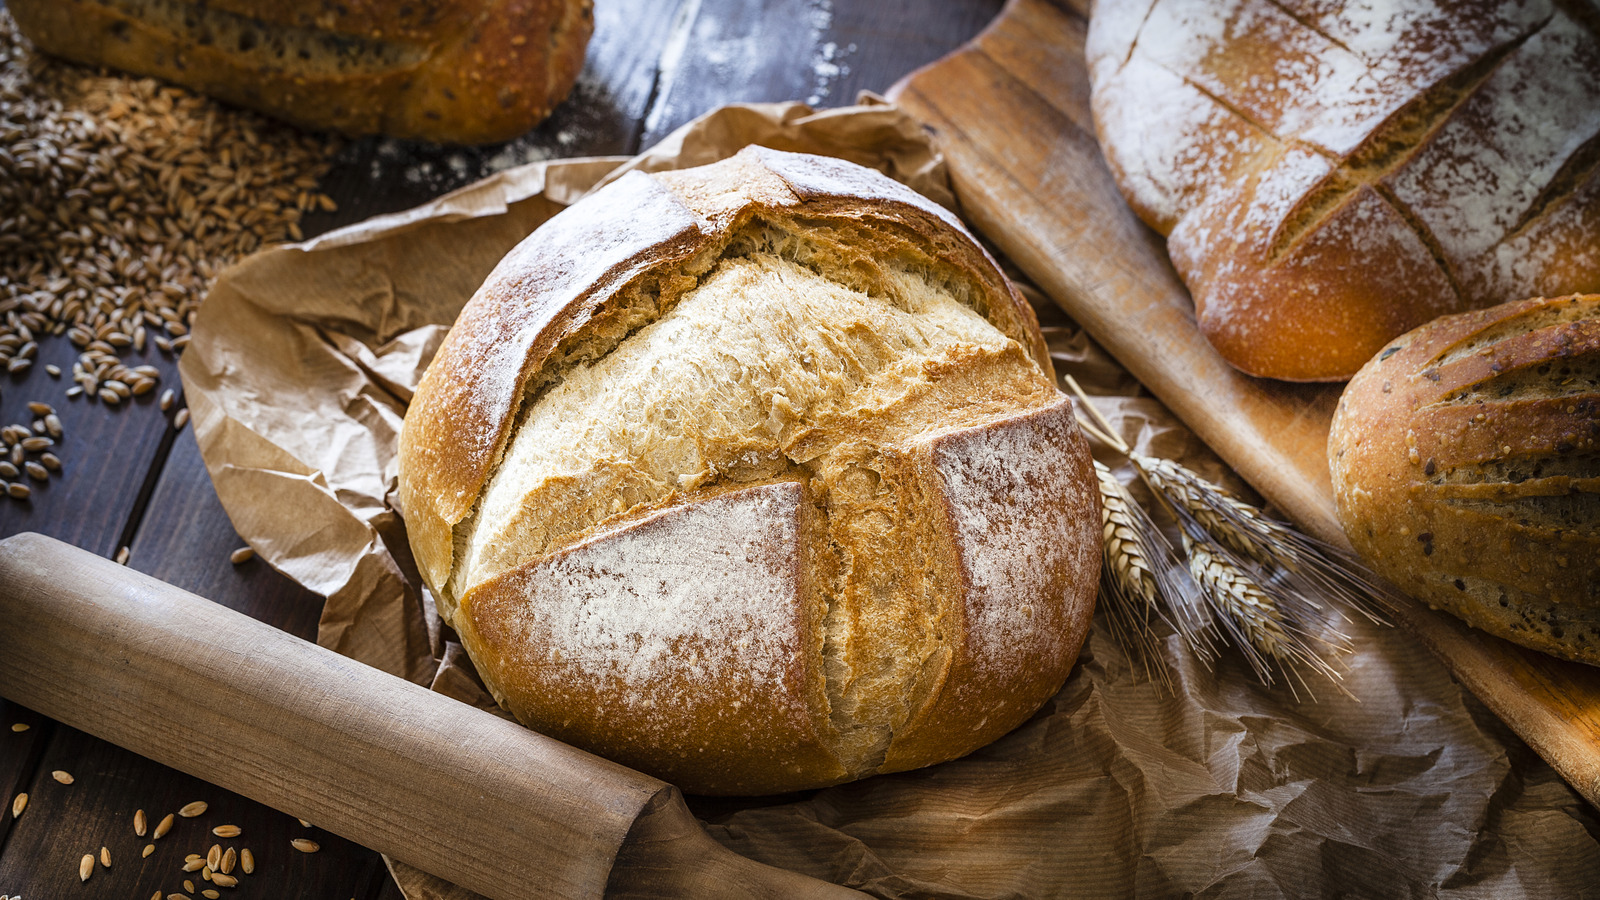
The inviting aroma and irresistible crust of homemade bread is heavenly. But what if your baked loaf keeps coming out pale and doughy instead of amber-brown and crisp despite following the recipe to a tee? We spoke to Nathan Myhrvold, founder of Modernist Cuisine and co-author of “Modernist Bread at Home,” who told us that achieving the perfect golden crust relies on three things: Making sure the oven temperature, length of bake, and proofing time are always on the money. But first a little science.
“Bread crusts vary in color and flavor because of a chemical process known as the Maillard reaction, which occurs as bread bakes,” Myhrvold explains. “It’s sometimes known as the browning reaction, though it should more properly be known as the flavor reaction, since the molecules it produces are also responsible for the distinctive aroma and taste of fresh-baked bread.” During this process, the sugars, amino acids and protein in the dough produce “brown pigments, complex flavor compounds, and a stiff, brittle surface — all crucial elements in a good crust.”
As the temperature rises, the Maillard reaction accelerates, causing the bread to develop an inviting golden surface. Indeed, the more the crust darkens, the faster the bread absorbs the heat inside the oven cavity, which makes it acquire even more color.
Temperature and time are tantamount
One of the most important steps in baking bread is setting the oven to the correct temperature. If it’s too hot, your loaf will burn on the outside and set the crust prematurely, preventing it from rising to its full potential. However, if it’s too low there simply won’t be a sufficient burst of heat to trigger the gas inside to expand.
“You can guard against this error by always checking that your oven temperature is at the correct setting just before you put dough in the oven” says Myhrvold. “We recommend hanging an oven thermometer at the center shelf of your oven so that you can double-check your oven temperature and calibration.”
This oven thermometer available on Amazon has a hook and a large dial, making it easy to hang inside the cavity and gauge the correct read. However, if you’ve made sure the temperature is spot on but the crust of your bread is still pale after baking, it may simply need more time in the oven. The only difficulty is that pulling your loaf out at the most favorable moment requires keen observation.
“Determining doneness is a skill that you learn by experience”, Myhrvold explains. “For most breads, the best indicator of a loaf’s doneness is very subjective: Color.” He adds that “there are three primary stages of doneness based on color: Blond, brown, and bien cuit.”
Differentiate between blond, brown, and bien cuit
Knowing when to take your bread out of the oven is crucial when it comes to flavor and texture. For example, blonde bread will have a softer, flabbier crust because the dough will still contain water that hasn’t yet evaporated away. It’s crumb will also be gummy and have little flavor. However, if you bake your bread for longer until it reaches the brown stage it will have a crispier surface, moist crumb, and more of that caramelized flavor that makes it so delectable. According to Myhrvold, this is the stage that most people think their bread is done. At this point “you’ll notice an amber-brown across the entire surface, with perhaps a few darker traces along the scores and at the narrower edges of a pointy bâtard or short baguette,” he explains.
If your bread is baked further until its exposed surface turns very dark brown you’ll be firmly in bien cuit territory (a French phrase that means “well done”). Baguettes and loaves that are baked until bien cuit develop a thicker crust that has what Myhrvold describes as a “bitter tanginess.” “Most professional bakers think this the ideal color for bread,” he explains, “and some will keep the bien cuit loaves for themselves.”
Bear in mind that enriched doughs with a higher concentration of sugar, such as brioche or milk bread, can brown more quickly than basic doughs made with yeast, flour, and water.
Prioritize the proof
Let’s say you’ve baked your bread at the correct temperature and the crust looks the perfect shade of brown. But when you slice into it, the crumb is tight, the rise just isn’t there, and the flavor is lackluster. What happened? This issue could be the result of poor proofing.
“An overproofed dough won’t expand much during baking, and neither will an underproofed one,” Myhrvold explains. “Overproofed doughs collapse due to a weakened gluten structure and excessive gas production, while underproofed doughs do not yet have quite enough carbon dioxide production to expand the dough significantly.”
The signs of an overproofed dough? It will look like “a balloon in the throes of deflating,” may have wrinkles on the surface, and will smell like alcohol. Once baked, it will be flat with little rise, and have a close crumb. Underproofed dough, on the other hand, will rip and tear as it bakes, causing it to lose its shape and create stress around scored areas. As the flavors haven’t had the time to develop fully, the bread will also taste doughy. Deciding when a dough has reached the optimal proofing stage (also known as “calling proof”) can be tricky for even the most experienced of bakers.
Employ the fingertip test
Knowing when to call proof requires a professional baker to be familiar with how a specific dough should look and feel when it’s ready for the oven. However, this expertise is developed through years of trial and error and can also depend on the variety of dough they’re working with, whether it be an enriched recipe, like challah, or a mixture made from a bubbly sourdough starter. Luckily, home bakers can employ a nifty trick to help them figure out if their dough has reached that sweet spot — the fingertip test.
“Use your finger to gently press the exposed surface of the dough for two seconds,” Myhrvold advises. “The pressure should leave a small dent in the dough. It will slowly spring back, but the indentation should remain clearly visible. Underproofed dough will spring back quickly; overproofed dough won’t spring back at all.”
The benefit of using your finger is that it won’t harm the surface of the dough. However, if you’re still unsure whether it’s ready to be baked, it’s always better to overproof it as your final bake will have a better flavor, texture, and crumb than an underproofed batch that hasn’t benefited from enough fermentation time.


