
There’s no denying that cake is a fabulous dessert on its own. What’s not to love about the combination of a soft sponge and tooth-hurtingly-sweet icing? Well, when you combine the two into a bite-sized and portable form and cover it in chocolate, then you’ve got something truly magical on your hands. I’m talking about cake pops — the cute, whimsical dessert that was arguably catapulted into the spotlight when Starbucks started serving them in its cafés. The adorable treats caught on fast and led to many home bakers (including myself) experimenting with different cake flavors, frostings, and coatings. As a result, there’s no shortage of cake pop recipes out there on the internet for you to try.
However, the one thing that those online recipes will not tell you is that these pops are more difficult to make than meets the eye. Don’t let the fun, pastel-centric photography fool you into thinking that these pops are a walk in the park. Like, I consider myself to be a pretty proficient baker, but I’ve gone through several agonizing cake pop experiences over the years that, for awhile, made me hesitant to try them again. But, I’ve learned along the way and used my own blunders to curate this list of the most common mistakes you can make with cake pops, along with some top tips on how to prevent them from happening to you.
1. Using a warm cake
The beauty of cake pops is that you can make them as a way to use up leftover cake – and I would venture to guess old cake, rather than a fresh sponge, is how most people prepare their matches. But, if you’re in a cake pop mood and don’t have a leftover birthday cake in the fridge, then you may want to bake a whole new sponge.
If you go this route, one critical mistake that you need to avoid is stirring the cake into the frosting while it’s still warm. Anyone who has decorated a cake before can tell you that warm cake and cold, butter-based frosting doesn’t mix. If you combine the warm cake with your frosting, you will risk warming up the fat too much and may even cause the mixture to turn liquidy. This not only makes the cake balls hard to shape and form, but it can also cause issues when you try to stick them with the lollipop sticks and dunk them into the melted chocolate. Your cake should be cool to the touch and easy to handle before you even consider making it into cake pops.
2. Adding too much frosting
The base of your cake pop is simple: cake and frosting. While it might sound weird, I liken the process of getting the perfect ratios of these two ingredients like with making a chicken salad. The cake is your chicken — it’s the primary flavor and the base of your cake pops. Meanwhile, the frosting is like the mayonnaise in the chicken salad. It should be only used just enough to bind the cake together. If you add too much mayonnaise to your chicken salad, it turns soupy, and makes it more like a mayonnaise salad with a couple pieces of chicken mixed in. The same can be said about adding too much frosting to your cake pops.
You will need less frosting to make your cake pops than you may think. Start with a ratio of ¼ cup of frosting (store-bought or homemade) for every 3 cups of crumbs. Like with chicken salad, it’s easier to add less binder at first and go from there than add too much on the first shot.
3. Overmixing your cake and frosting
If your recipe instructions say something along the lines of “crumble your cake,” you may be shaking your head. Does that mean put it into a food processor and pulse it until it’s powdery? Are some larger chunks acceptable? Some recipes may give you some room for interpretation here, but here’s my advice: keep things coarse.
Aim for a sand-like consistency with no large chunks. You want all of the cake crumbs to be bound and coated with the frosting. If you leave large pieces of cake, you’ll risk your cake pops not binding correctly — which could spell issues for the pops holding together later down the line. This is why I would also recommend always using your fingers, or potentially even a pastry cutter, to break down your cake. If you pop it in the food processor, it’s too easy to walk away and come back to cake crumbles that are a little too fine. Sure it’s messy — but this is supposed to be a hands-on treat!
4. Using the wrong type of melting chocolate
Not all chocolate melts the same, and you have to have a little bit of knowledge going in to determine what type of chocolate to use for your cake pop recipe. The ideal type of chocolate to use here is a compound chocolate. Compound chocolate contains all of the “normal” components of chocolate, with the addition of one important ingredient: vegetable oil. These fats can make melting the chocolate easier, though they won’t give you the beautiful sheen of couverture chocolate — which needs to be tempered in order to come out perfect.
So, the good thing is, you won’t have to learn how to temper chocolate for your cake pops. However, you still need to select a compound chocolate that has the flavors and texture that you seek. For one, you can use candy melts, which are more akin to white chocolate than anything. These melts, which come in an array of colors, are designed to do just that: melt. They’re made of sugar and oil, so they don’t do much for the flavor of your cake pops. If you want a decadent chocolate coating, you’d be better off using a chocolate almond bark.
5. Making your cake pops too top-heavy
While cake pops themselves are a little bit of a hodge-podge dessert in that they can look rustic, rather than primed for a bakery shop display, you have to put some work in to ensure that they are structurally sound enough to stay on the pop stick. One common mistake that people make with cake pops all the time is making the actual cake base too large for the stick. While the adage “bigger is better” can apply to some things, cake pops are not one of them. If you make your pops too large, you will risk them falling off the stick before you get to bite into them.
To avoid all of your hard work going to waste, you’re going to want to express a little restraint when it comes to shaping your pops. You will only need to make about 1-tablespoon sized balls for your cake pops — no more than that. Having a small cookie scoop handy may be helpful here, as you can standardize your balls, and it will make scooping them a little neater.
6. Not tailoring your frosting ratio to the dryness of your cake
Remember how I said that you should always follow a ratio when making your cake pops? Well, I neglected to mention the whole “working by feel” component of the equation that’s so important when it comes to a recipe like cake pops. If you’re working with a drier type of cake, like one that’s been sitting out on your countertop for a few days, you may need to add a little bit more frosting to increase its moisture content. Fresh cake will be more moist than one that’s been exposed to oxygen for a prolonged period.
The perk of making cake pops is that you can use both fresh cake and stale cake and have the result come out the same — but you just may have to add a little more or less frosting to make things work. I would recommend testing your recipe often by picking it up, rolling it into a ball, and seeing if it stays together. The balls should look smooth when they’re rolled, with no unsightly cracks or splits down the middle.
7. Not getting your chocolate melted perfectly
I mean it when I say that melting the chocolate down is one of the hardest parts of making cake pops. You would think that melting chocolate is simple — but it actually comes with some pitfalls. You can’t just put your chocolate in a microwaveable container for five minutes and expect chocolate sauce to come out (I tried to do this when I was 8 and almost burned the house down … sorry Mom). You have to gently and slowly melt your chocolate to ensure that it doesn’t burn.
There are many different methods for getting the perfect melt, whether it’s in a microwave or over a double boiler. You can choose your own adventure here, but I would recommend several important steps, regardless of the method you select. The first would be to break the chocolate down into small pieces so that it melts more consistently. You’ll also want to stir it and move it around often to ensure that all of the chocolate melts at the same rate — no residual chunks allowed.
8. Skipping the preliminary dip
The first time I made cake pops (granted, I was 12 years old), I made a very, very catastrophic mistake: not dipping the stick in the chocolate first. You might think, “So what?” But, let me tell you, that initial dip makes a big, big difference for your pops. And having to watch those little cake balls sinking into a bowl of melted chocolate after they fell off their sticks is a testament to why it’s so important.
You’ll want to plunge the end of the stick into the melted chocolate so about ½ of an inch is coated. This will help ensure that your cake adheres to the stick and stays snug when you go to invert it and plunge it in the chocolate. If you don’t do this, shoving the stick into the ball will cause it to splinter and potentially lead to your pop falling off the stick later on.
I would also recommend using a tall measuring cup, like a tempered Pyrex, to dip your stick and cake pops into. It’s wide enough that your fingers won’t get covered in chocolate (as much), and you can get enough height to submerge the stick perfectly.
9. Forgetting to chill your pops before dipping
You can’t chill your cake pops enough during the preparation stages. The chilly temperature of your fridge will ensure that your cake balls stay solid, as it keeps the frosting from melting. Meanwhile, the condensation can also dry out the cake a little bit, which will help it stick your base.
Once you have finished bringing together your cake and your frosting, roll your balls out and plop them on a baking sheet. I would recommend refrigerating your cake balls for as long as you possibly can — from one to two hours should do the trick — before you start working with them again. It may also be helpful to put the balls onto small plates. That way, you can pull out a small number of them to work with at a time, which will prevent the other ones from becoming too warm while they’re just sitting around.
That being said, you should also keep the temperature in mind as you’re working with your cake pops. If you are handling them too much, you could be warming up the frosting and causing even more issues. Keep the touching to a minimum and if you notice they’re starting to lose their shape, pop them back into the fridge for a little bit.
10. Forgetting about the egg carton trick
Cake pops are messy — there’s no doubt about it. However, there are some things that you can do to make the decorating and drying process a little easier on yourself. For one, you may want to use an egg carton for hassle-free cake pop prep. Once your cake pops have been dipped, you can stick them into the flipped-over egg carton. The cardboard will hold your stick upright and the chocolate can dribble right off and onto the disposable carton. Just make sure that you don’t try to lick up any of the chocolate that drips into the carton, as eggshells can be home to salmonella bacteria that can make you sick.
The other option would be to use styrofoam, or even floral foam for this hack. While you can leave your cake pops pop-side-down on a plate, they might stick to it, or form a round, caramel-apple like disc on the top where the chocolate melts onto the plate.
11. Using a stick that’s too flimsy
The go-to base for cake pops is the classic white lollipop stick. You can buy a large pack of them on Amazon for relatively cheap, and they have enough strength to hold up your cake pop without even a second thought. But, you can also take the edible route and swap them out for something like a Pocky stick. This Japanese snack is an easy way to upgrade your cake pops, and you can pick between tons of different flavors. They’re sturdy, but you just have to be careful not to break it into pieces when you’re dipping and drying your pops.
Another potential option here would be a pretzel stick, as they are equally as robust and have a slightly more neutral flavor than the Pocky. Although the flavor of a pretzel isn’t anything to write home about, you can experiment with sweet and salty flavors, like with a salted caramel or dark chocolate cake pop and a salty pretzel base. If you go outside of these options, though, you’ll want to express some caution. Avoid potential bases that could bend and break easily.
12. Using too much chocolate to coat your pops
Is there such a thing as too much chocolate? Well, in most cases, no. But when it comes to cake pops, yes — you can indeed add too much chocolate. Melted chocolate is heavy, so adding too much to your cake pops can weigh them down and potentially cause them to become a little too top-heavy. Not to mention, too much chocolate can make your pops look really messy.
Once you remove your cake pop from the chocolate, you’re going to want to let some of the excess chocolate drip from the pop before you move it to your avante-garde drying rack. Letting the pops dry and drip will also help prevent a chocolate layer that’s too thick.
That being said, you shouldn’t be afraid to get a decent coating on your pops. The key is to make sure that you dip your pop in so that the coating covers the spot where the cake ball meets the stick. There should be no bare spots, either.
13. Not letting the chocolate harden before eating them
It’s understandable that after going through the arduous process of rolling, chilling, and dipping your cake pops, you’re going to want to dive right in and enjoy them. But not so fast; you also need to give your chocolate a chance to harden on the outside of the pop before you take a bite.
It’s not just because you don’t want a face full of chocolate. Rather, when you allow the chocolate to cool, you’ll allow it to form a protective shell around the pop and keep it in place. The protective shell will also keep the cake pop inside from staling too fast. Though, it will not entirely prevent staling from occurring — so still enjoy them in a timely manner.
14. Not decorating your pops soon enough
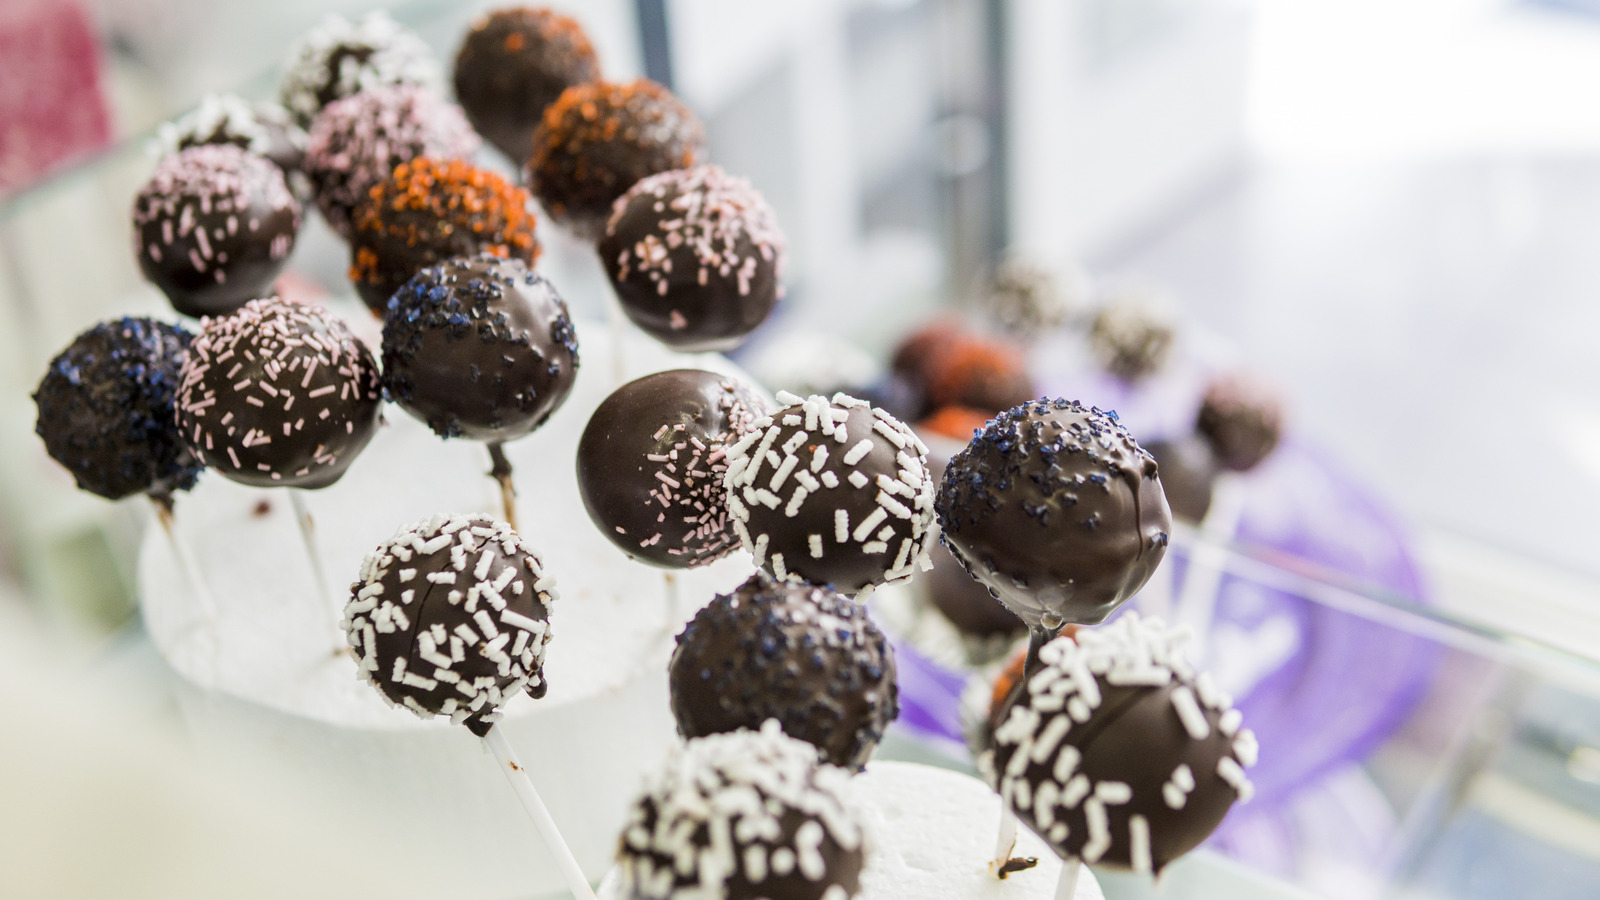
Decorating the outside of your cake pops is just part of the fun of making this dessert. There are a lot of fun touches that you can put on them, including adding sprinkles or drizzling them with white chocolate or candy melts to create a two-tone design. You can play with different colors and textures to create a pop that’s as enjoyable to eat as it is to look at.
Regardless of your garnish, you’re going to want to apply it to the cake pops before the chocolate has fully hardened. Otherwise, the sprinkles will just drop off and onto the carton — which defeats the purpose entirely. I would recommend sprinkling them over a bowl or a paper towel so that you can catch the leftover sprinkles and reuse them — or just do it over the sink to prevent a big mess.
15. Storing them incorrectly
Cake pops don’t stay fresh forever, so you’ll want to take some preventative measures to ensure that you can enjoy your pops several days after you’ve made them. You can leave them out on the counter for a week, or pack them into an airtight container in the fridge. You’ll want to add a few pieces of paper towel to the container to soak up the excess moisture from the pops. You can also store them in the freezer after they’re covered in chocolate, or store just the balls (and defrost before sticking and coating them) until you need them. It’s important to note that leaving them in the fridge or the freezer can alter the consistency.
Another option, which would work best if you plan to give the pops away as favors, is to wrap each one in its own little cellophane bag and tie it off with a twist tie or string. This can help make the pop a little more airtight and keep it fresher for longer. That being said, it is tedious to wrap and tie a ton of these pops — so proceed at your own risk.


