
Madelines are a treat that you’d see in a French dessert shop and think to yourself, “Ooh! Why not?” They’re easy to recognize, as their unique shell design has been kept nearly the same since they were first baked up in 18th-century France. When you bite into one of them, you’ll be greeted with a butteriness and softness that is more reminiscent of a cake than a cookie. They’re a really beautiful treat best enjoyed with a cup of coffee or tea, and they’re almost so refined that you may doubt your ability to make a batch for yourself at home.
Realistically, madelines are a relatively easy dessert to master once you familiarize yourself with their quirks. These tiny cakes may require a little more work than what you’re used to, but fear not, I’ve gathered my years of home baking knowledge to offer some words of advice for making ethereally soft and well-shaped madelines perfect for your next afternoon tea party.
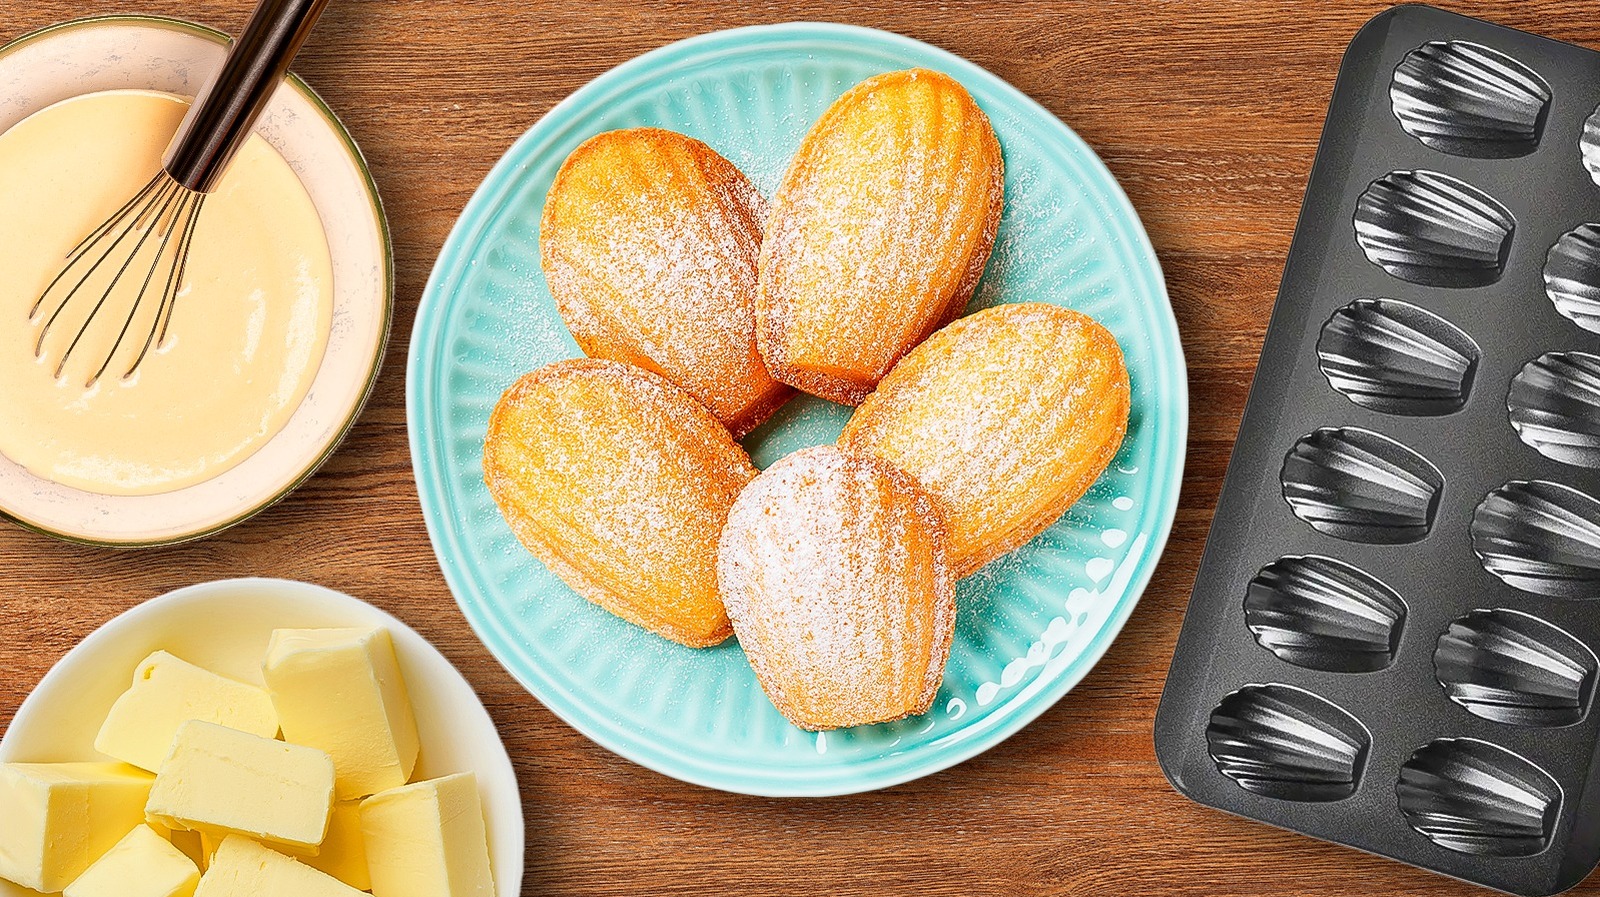
1. Get your hands on a quality madeline pan
The prerequisite to baking an authentic and beautiful batch of French madelines is, of course, selecting the right pan. There aren’t many pans that can replicate the shape and intricate design of madelines, which is why you’re better off buying a pan rather than trying to DIY something. These pans tend not to be too expensive; the higher quality pans tend to cost upwards of $20 each. You can also find some ones made with silicone instead of metal, but I find that these tend to be difficult to maneuver when they’re full of batter. You’re better off getting a high-quality metal one and just greasing it well to make removing the madelines as easy as possible.
You can also pick up a madeline tin secondhand, as their specialized use often doesn’t put them into the “kitchen essential” category. But, if you’re picking up a tin from a garage sale or a thrift store, just make sure that there are no dings, cracks, or scrapes on the pan, as they can potentially damage the nonstick coating and make the process of removing your madelines more difficult than it needs to be.
2. Use cake flour instead of regular flour for your recipe
Madelines, despite their small shape, are more cake-like than they are cookie-like. Therefore, you’ll want to follow all of the normal baking steps that you would for baking a cake. One ingredient that comes in handy often when baking cakes, as well as for madelines, is cake flour. Cake flour contains less gluten than a standard all-purpose flour. As a result, baked goods made with cake flour tend to be softer and, well, more cake-like than ones made with a higher protein alternative.
I like to bake madelines with cake flour rather than all-purpose flour, since I think it gives them a softer and more delicate bite. However, some people tend to go the all-purpose route because it does give the madelines a little more structure. You can always try separate batches using each type of flour to see which one you like more.
3. Work with room temperature ingredients
Like all good French bakes, making madelines is all about precision and adhering to the recipe exactly how it’s written. So when your recipe says “room temperature eggs,” don’t skip over it.
While it might just seem like the recipe developer is trying to make your life more difficult by adding this step, it actually does a lot for the bake. You shouldn’t use cold eggs for baking a cake because they won’t as readily mix into the batter as ones that are room temperature. The same can be applied for “mini cakes” — like madelines. If you’re working with cold eggs, you will find that they are harder to beat and mix with the sugar, which may result in consistency issues with the sponge later down the road.
Luckily, there are several easy ways to get eggs up to room temperature, even if you forgot to read your recipe instructions and pull the eggs out ahead of time. You can run the eggs under warm water to help bring them up to temperature, or consider submerging them in water until they feel warm. It’s a step that takes seconds to implement, but will have a big impact on your finished bake.
4. Avoid overmixing your batter
You have to be somewhat delicate and careful when making madelines. They are made with a genoise sponge; this type of cake is set apart from the others because of its tenderness. The last thing that you want is for your madelines to come out with the consistency of rubber tires.
The key to ensuring that your madeline batter stays soft and delicate is to only mix in your flour as much as you need to. You should also never use a stand mixer or an electric beater for this step in the process; while these tools can help ensure that your eggs and sugar are properly whipped, you will overbeat your batter if you use one of them to mix in your flour. Instead, add no more than half of the dry ingredients to your batter at one time. Once you’ve gently folded it all in, add the other half. If your batter starts to fight back or begins to feel tense on your hands, it’s a sign that it’s overmixed.
5. Let your madeline batter rest before baking it
The only thing more signature about madelines than their scalloped shape is the signature bump in the middle. While in most cases, a cake with a bump would be a recipe for disaster, it’s actually prized in the madeline world. The primary mechanism that causes the hump in your madeline is a major temperature change.
You’ll need to let your madeline batter chill in the fridge for a little bit before you bake with it. This time will allow the starches and flour molecules to fully hydrate. Then, when it hits the oven, you’ll get that characteristic hump in the middle as the air pushes the batter upwards.
There is an ideal resting time for your madeline batter. Ideally, you’ll want your batter to sit for about half an hour. However, if you wait too long and your flour becomes too hydrated, you will risk your batter getting stodgy. This not only makes it difficult to portion into your molds, but it also may cause issues in the bake later on.
6. Generously grease your madeline pan
Greasing your pans is important with whatever you’re baking — but it’s really, really important for something like madelines. If you’re baking a cake, for example, you will use two layers of protection: a sheet of parchment paper and grease (and sometimes flour too). When you’re making the madelines, you only have the grease that’s protecting you from stuck-on and burnt cake.
Therefore, you’ll want to be very attentive about greasing and preparing your madeline tins before you bake with them. Different websites will offer an array of different options for what you can use to grease your tins, from melted butter to melted vegetable shortening. I find that both of them work equally as well, especially when they’re applied with a pastry brush to get into the shell’s nooks and crannies. There are some recipes that will also call for using flour to dust the outside of the pan to prevent sticking. I, however, find that this extra layer of protection leaves an unsightly white coating on the outside of the dainty cookies, or it just burns onto them. As long as you grease your pan well, you shouldn’t need any extra protection.
7. Chill the pan before baking it for a better rise
If getting the perfect madeline hump is all about chilling your dough, then you may want to think about putting the entire pan into the freezer to chill before you spoon in your filling. Once your tray is well-greased, you can stick it in the freezer for about 10 to 15 minutes before pulling it out and dispensing your chilled filling into it. The dramatic shift from the cold pan to the hot oven will help give your madelines the rise that they deserve.
You might think it would be easier to stuff your batter into the molds and then put them in the freezer. However, this approach may cause issues with your batter sticking to the mold, and it may also alter your bake. So, it’s best to keep the two separate until it’s time to spoon in your filling and bake.
8. Resist the urge to overfill your molds
Even I will admit that I have a very bad habit of overfilling baking molds. After all, if you’re overstuffing a cupcake tin with batter, the worst you have to worry about is getting too big of a muffin top (which isn’t really a problem in the slightest). The same cannot be said for madelines.
If you overfill your madelines, one of a few things can happen. The first is that you didn’t grease well enough around the molds, so when the batter overflows, it will be more prone to sticking. When you remove your madelines, you’ll have one heck of a time trying to pull them out, and you may even risk breaking them. You may also get madelines that are not super uniform — and we’re after delicate, “The Great British Baking Show”-level precision here.
Ideally, you won’t want to fill your molds more than about ¾ of the way full. It’s about a teaspoon’s worth of batter. If you are after precision, you get yourself a 1 teaspoon cookie scoop and portion your batter into the tray that way. Some people will also use a piping bag, since it’s easier to push out your desired amount and then move onto the next well without splattering batter everywhere. Pick whichever method you’re most comfortable with. Regardless, be sure to pop that extra batter in between batches back in the fridge to help it keep its texture.
9. Adjust your baking time according to the darkness of your pan
The color of your pan impacts the way you bake a lot. Darker pans tend to require slightly less time because they attract more heat. While it means you can enjoy your madelines sooner, it also means that you have to pay extra attention to make sure that your treats don’t burn onto the pan. Check your dark pan about two to three minutes before the timer goes off to see if your madelines are finished baking ahead of schedule.
Madelines don’t generally require a lot of time to bake because they are quite small. As a result, it’s really easy to overbake them. A finished madeline gives off the same visual indicators as a finished sponge cake. It should appear dry on the top and be slightly golden brown around its edges. You may also see it start to pull away from the sides of the pan — provided that you did, in fact, grease it enough.
10. Don’t wait too long to remove your madelines from the tin
Carryover cooking is a big, big risk that you’ll need to mitigate when you’re making madelines. If you leave them in the tin for too long, you will not only risk them burning, but also sticking and becoming very difficult to remove. You’ll want to allow your madelines to sit for just a couple of minutes once they’re in the tin (so that they can set all the way through), before you gently try to pry them loose. An offset spatula or butter knife tends to work well for this; just make sure you’re not butchering the edges when you’re trying to pull them out of the tin.
Another less invasive method to prying your madelines loose is to flip the tin over and let gravity do the work. You could give your tin a little tap to see if will help loosen the madelines, but avoid forcefully whacking it against the countertop, as this can cause your treats to break into pieces.
11. Cool your madelines well before eating them
Once you’ve successfully (or unsuccessfully, if you underestimated how much grease you needed to use on your tin) removed your madelines, you’ll want to let them sit on a cooling rack for a little bit. This extra time allows the inside of the madeline to firm up, which will make for a more enjoyable texture. You’ll know your madelines are ready to decorate when they are cool to the touch.
After your madelines have cooled, you can transfer them into your storage vessel of choice. I wish I had better news for you on this front, but madelines really don’t taste the same on day two or beyond, and freezing or refrigerating them will not extend their shelf life or help preserve their texture any more. So, if you needed a sign to eat more than three of them in a single sitting, then consider this it.
12. Once you master the basic recipe, experiment with different flavors
Madelines may have that French je ne sais quoi around them, but that doesn’t mean you can’t get a little crafty with their flavors. The classic madeline recipe is flavored with lemon zest, which gives it a very light, plain, and balanced flavor. You could potentially venture a little more out there and try to swap this out with orange zest, as this will add a sharpness to your madelines. Dip them in chocolate once they’re fully cooled and you’ll get the perfect balance of citrus and depth.
You could also go full-out cocoa and add some cocoa powder to your recipe. Or, consider going green and adding a scoop of matcha powder. Regardless of what upgrades you select, it’s important to remember not to stray too far from the original recipe. When you start adding things like chocolate chips or fruit to the mix, you’ll risk altering the density of the batter and turning your entire recipe upside down. Stick to small quantities of add-ins and opt for extracts, rather than texture-changing ingredients, to build up your recipe’s flavors.
13. Consider adding a filling
You don’t want to tweak your madeline batter too much, as you may risk altering its chemistry and composition. But, if you want an easy way to add flavor and texture, you may consider adding a filling instead.
Is it exactly what the French intended on when they made this recipe centuries ago? Of course not. But is it fun, whimsical, and worth trying? But, of course. You can try a lemon curd filling for when you’re looking for something bright and summery or opt for a thick dulce de leche when you’re craving something rich and heavy. Once you have your filling sorted out, attach a small piping tip to your bag and stick it in the underside of the madeline. You only want to add enough filling to the point where you start to feel resistance on the bag. Then, remove the bag and garnish your madelines as you desire.
14. Keep your garnishes simple, yet effective
While you can be playful with your madeline fillings and try to tweak the flavor of the cake, the garnishes are not something that you really want to mess with. Madelines are supposed to be a very dainty treat that is served with coffee or tea. The more you start to add different garnishes and visuals, the more you take away from the fundamental simplicity of the recipe.
As a result, the most common go-to garnish for this recipe is powdered sugar. Just sift a little on the top of the madelines, arrange them close together on a serving tray, and you’re good to go. If you want to experiment with different garnishes, though, there are some avenues that you may want to take. A chocolate dip, which can either encase the full madeline or just part of it, is an easy way to add a simplistic, yet refined touch. You could also add a flavored glaze; you don’t even have to have it coat the whole madeline for it to be successful.


