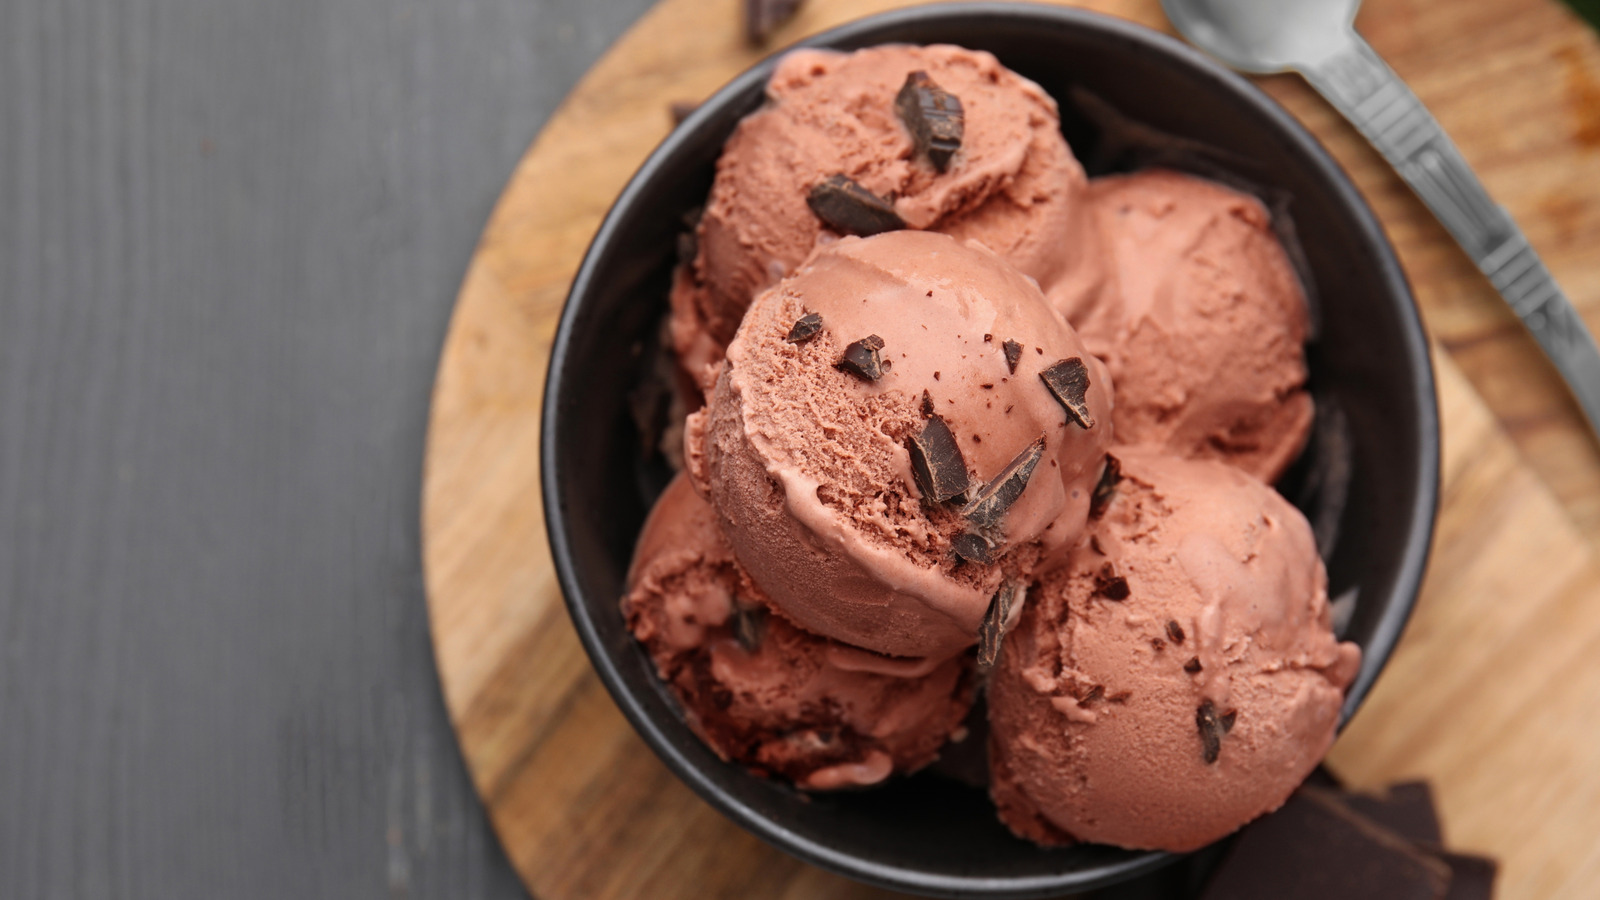
The best way to boost your appreciation for ice cream is to make it yourself. It’s one thing to buy your favorite pint at the grocery store, but building a familiarity with combining flavors and churning the ingredients will make you truly fall in love with this dessert. Not to mention that the sky’s the limit on flavor when it comes to homemade ice cream.
One man who knows his ice cream is Louis Kim, founder and owner of Holy Roly Ice Cream, an organic dessert boutique in Los Angeles. Kim exclusively shared with Daily Meal his tips on how to make the most delicious, luxurious ice creams without any added stabilizers, emulsifiers, or preservatives. And the first step is simple: Use the best and freshest ingredients available.
“The flavor of your ice cream is directly tied to the quality of your ingredients,” Kim told us. “Opt for fresh dairy, ripe fruits, and pure flavor extracts,” as well as recipes that call for whole milk and heavy cream. “Ice cream relies on fat for its creamy texture,” he said. “Using low-fat dairy can lead to an icy consistency.”
Strain cooked eggs out of your base
It is possible to make good ice cream without a custard base; just look at the common Philadelphia-style ice cream. But much like the difference between regular vanilla and French vanilla ice creams, whisking egg yolks into your ice cream base is the key to that luxuriously smooth creaminess that sets the best ice creams apart. However, Louis Kim warned that failing to do this next step will rob you of that velvety texture you worked so hard to achieve. “Always strain the base through a fine-mesh sieve before chilling,” he advised. “Failing to strain the custard base can result in a grainy texture due to cooked egg bits.”
Ideally, none of your eggs will cook while whisking the custard base. But it does happen to even the best chefs, and a fine-mesh sieve is essential to strain even the smallest chunks of scrambled egg out completely. A regular colander will not do.
Chill the base before churning
It might sound obvious, but ice cream is supposed to be cold. And the best way to keep it cold is to keep the ingredients cold. Refrigerate your ice cream base for several hours before you begin churning. “This step helps in achieving a smoother texture and reduces the formation of ice crystals,” Louis Kim told us.
While it’s easy to make great homemade ice cream without an ice cream maker, the convenience of one is hard to beat, especially if it has a freezer bowl. The churning process transfers a lot of energy into the ice cream in the form of heat, and the freezer bowl helps to counteract that — but only if it is properly frozen. “If using an ice cream maker with a freezer bowl,” Kim advised, “ensure it’s frozen solid, usually requiring at least 24 hours in the freezer, before churning.”
Do not overfill the machine
If you’re using an ice cream maker, the convenience of the machine has its limits. Take care to avoid overfilling your ice cream maker — a limit that may be lower than you think it is. “Fill your ice cream maker only up to the recommended level, typically about two-thirds full,” Louis Kim advised. Your ice cream needs the extra space in the bowl to have room to churn properly. “Overfilling can prevent proper aeration,” Kim explained, “leading to denser ice cream.”
Depending on your recipe, you may have something else to consider when filling your machine. Some classic mix-ins like chocolate chips, nuts, and candies are arguably best added during the churn. If you’re adding them at this point, you will have to account for the additional space they take up in the ice cream maker.
Be patient
Some foods take a long time to reach their maximum flavor potential, and not much can be done to speed it up. Ice cream is one of these foods. “Be patient,” Louis Kim told us, “allow the ice cream to firm up in the freezer for a few hours after churning.”
Not only does the ice cream need that time to refreeze after the added warmth during the churn, but this time is also essential for flavor development. Think of this process as waiting until a fruit is ripe before picking it off the tree — it even shares the name “ripening.”
Kim says this ripening time “enhances the texture and allows flavors to meld,” giving you the uniformity of taste that one would expect of professional-grade ice creams.
Add mix-ins correctly
When adding mix-ins, “it’s essential to consider both the ratio and size to ensure a balanced texture and flavor,” Louis Kim said. “A general guideline is to add about ¾ to 1 cup of mix-ins per quart of ice cream base.”
Kim recommends tiny bites for the ideal mix-in size, suggesting larger pieces can harden when frozen “and may disrupt the creamy consistency.” Consistency is key when it comes to mix-ins, which is why some, like fresh fruit, require a little more work.
Adding fresh fruit can water down your ice cream and give it an icy consistency, which is why Kim recommended macerating your fruit to boost sweetness and reduce water content. However, freeze-dried fruits are also an excellent addition and a more convenient option than soaking fruits in sugar and lemon juice. “They provide intense flavor without adding moisture,” Kim explained, “maintaining the desired texture of the ice cream,” with no maceration required.


