
The microwave was a real game-changer in the kitchen when it was first introduced. While early models had their hiccups, the speedy cooking time was enough of an improvement that people happily put up with any early issues. Over the years, the microwave has become such a necessity that many apartments include one along with the standard range and fridge, instead of requiring tenants to buy their own.
As busy cooks try to find more ways to speed up the preparation process for meals, the microwave’s abilities have allowed it to shine, even as air fryers and multi-cookers vie for attention. The fact that you can adjust the cooking power level and reduce how much heat ends up in your kitchen is often enough to make the appliance invaluable. But there’s still a heck of a lot more that you can do with your microwave than you may have realized. These 14 hacks you didn’t know you needed should help you do everything from preparing ingredients to proofing bread dough.
Soften ice cream
This first hack is usually the one that makes people scratch their heads at first because it’s so non-intuitive: Heat up ice cream to eat it cold. That doesn’t sound like something that should work, but in this case, it does. Try 30% to 50% power in bursts of 10 seconds or so. You don’t want to do this for more than a few seconds at a time because you can end up melting the ice cream if you heat it for too long. In fact, back in the 1980s, the Micro Magic line of meals included shakes that were frozen solid, and you’d microwave them for about 45 seconds to soften the ice cream to a sippable consistency.
The one warning is to make sure the container is safe for use in the microwave (you’re going to see this warning a lot). Not all ice cream containers are microwave-safe, and if you can’t tell, you’re better off trying to transfer the ice cream to another container. Also, if you’re dealing with a large container, don’t microwave the whole thing; instead, cut open the container and cut the ice cream with a knife, put the unused portions into new containers in the freezer, and then put the portion you want in the microwave.
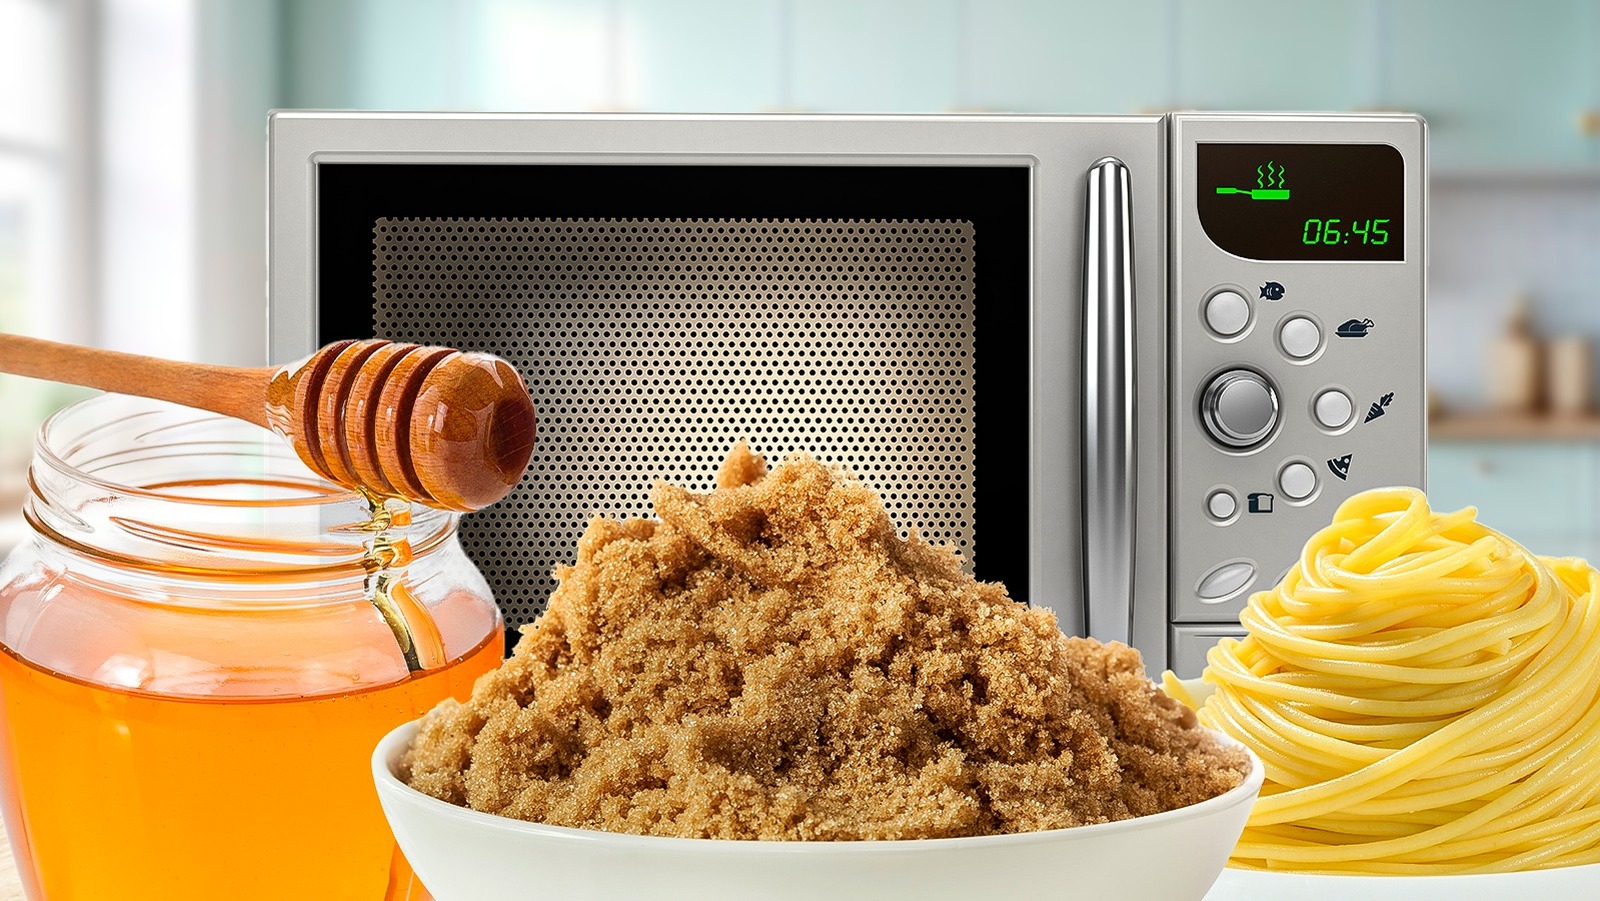
Cook pasta without boiling water
Ramen and spaghetti cookers for microwaves aren’t new, but what you may not realize is that these aren’t meant just to allow you to cook pasta and noodles more quickly. They also allow you to cook them without boiling water on the stove. That both saves time and reduces the heat that the cooking process gives off, which is a blessing in summer.
If you don’t yet have a specialized cooker like this lidded container, you can use a microwave-safe bowl. Just ensure the bowl is much larger than the portion of pasta you’re cooking as that extra space will help control boil-overs and give the pasta room to expand as it cooks. Also, add a couple of minutes to the cooking time on the pasta box or bag, and cook in bursts, stirring regularly. If you want al dente pasta, test a piece as you get close to the end of the cooking time.
Help yeast dough rise
Microwave doors are really good at keeping any steam food produces within the cavity of the oven. This seal also makes microwaves great for proofing bread dough. If you’re making yeast dough and need a warm place to put the bowl as the dough rises, get a cup of water and head to the microwave. By the way, not only does this provide a warm spot for the yeast, but the heat and humidity also accelerate the rising, so your dough will be ready for its next step more quickly.
Microwave a cup of water on high for two minutes. Place the covered bowl with the dough in the microwave, quickly shutting the door. Leave the cup inside. And then just let it sit! The water will continue to give off steam and help the yeast do its thing. Check the dough after 30 to 45 minutes and heat up more water if needed. Go in 15-minute intervals at this point to ensure you don’t overproof the dough.
Make risotto easily
Risotto seems simple to make, but it’s not necessarily easy. The ingredient list and cooking procedure are both straightforward, but it takes time and care to get just right. It’s easy to burn or overcook the dish, so it requires constant attention. Anything you can do to reduce the amount of time you have to spend dealing with that high-maintenance meal is a benefit.
As you can guess, your microwave holds the answer for easy risotto. Many recipes have you drop everything in a bowl to cook away, uninterrupted. But for optimal texture, you may want to try cooking the mixture in bursts, stirring in between each one, and adding more liquid if necessary. Microwaves can dry out food if you’re not careful, so have whatever base liquid the recipe calls for (e.g., broth) ready to go, and preferably hot. Try to use a flat pan with higher sides that’s microwave-safe instead of a rounded bowl; that should help the risotto cook more evenly. As for exact times, you’ll have to test that yourself as they’ll vary depending on the wattage of your microwave.
Get more juice from citrus
The juice in citrus fruit rests in those small sacs that you see when you peel the fruit into segments. When you push a lemon half down onto the point in a plastic juicer, what you’re really doing is crushing the sacs so that they break open and release juice. The problem is that many people store citrus in the refrigerator, so the sacs become firmer in the cold temperatures and don’t break open as easily.
All you have to do here is microwave the citrus for up to 20 seconds on high and get to juicing. You can also try only 10 seconds of heat and then roll the fruit on the counter to break open those sacs. If you’re not sure which is best, start by microwaving the fruit for 10 seconds and juicing a half. Add another 10 seconds if the fruit doesn’t seem to be releasing a lot of juice yet.
Peel garlic in no time
The smell of garlic on your fingers after peeling clove after clove may be heaven for some, but for others, it’s a major annoyance. Removing the skin also requires spending a long time trying to scrape off fragile, papery layers, which can make the process incredibly frustrating. Smashing the cloves can help, but if you need intact cloves to cut into neat slices, smashing isn’t the best option. Enter the microwave and its amazing capability to peel garlic in no time. Put the cloves or a whole bulb with its top cut off in the microwave for around 20 to 30 seconds, and the cloves should slip right out of their skins.
The reason this hack works isn’t that obvious, but Professor Gavin Sacks of Cornell University gave NPR a potential answer. He said it’s possible that the steam generated in the clove during the heating process simply loosens the layers all around the meat of the clove. No matter how it works, though, the hack appears to be well-loved by those who’ve tried it. Note that the garlic flavor may be a little bit mellower than usual.
Quickly soak dried beans
You can “quick-soak” dried beans on the stove by putting them through rounds of boiling and soaking over a few hours, or you can take 15 minutes and have those beans ready much sooner by using the microwave. Combine one cup of beans to two cups of water. The bowl you use has to be large because you want to avoid having water boil over the edge of the container.
Some variations on this hack advise adding something fatty like drippings or bacon to the water, and those variations also say to cover the bowl with an actual lid. Other variations mention nothing about covering the bowl. Heat the bowl for 10 to 15 minutes, stirring at least once halfway through. Start off using high power, but once the water is boiling, cut the power level down to 50% (that’s probably a great time to stir the beans). You can cook the beans for another five minutes or so if you want them to be softer. If you want to cook the beans completely, rather than just soaking them, continue microwaving them on 50% power for up to 50 minutes, stirring regularly.
Loosen hard brown sugar
Brown sugar has to be stored in an airtight container. If you don’t use one, the sugar can dry out. Moisture will gradually evaporate until the mass of sugar crystals melds together and you end up with chunks that are difficult to break apart, even if you try scraping their surface with a knife.
You have several options for softening hard brown sugar, but most of them take too long; if you’re trying to cook something now, you don’t want to wait a day for the sugar to start softening. However, you can speed up the process with a microwave. Place the hardened brown sugar in a microwave-safe bag — be careful if you have to chip it out of its container — and then do one of two things. Either pour water into the bag (you’ll want about 3/4 teaspoon for every half-pound of sugar) or wet a paper towel, squeeze out the extra water, and place it in the bag with the sugar. Microwave the bag for about 15 to 20 seconds. Then, either close the bag and knead the dampened sugar or start loosening it with a fork. You may need to repeat this process but don’t microwave the bag for too long. By the way, some paper towels aren’t microwave-safe, so always check the packaging before assuming you can use them for this hack.
Cook corn on the cob
In the past, if you really wanted to cook corn on the cob, you would rip off the husk and silk, drop the corn in a pot of boiling water, and fish it out after a minute or two. However, the processes people use to cook corn on the cob have expanded greatly over the past few decades. They now include using the microwave, which has become a favorite method for many. Like boiling, you’ll cook the corn for only a short time (three to five minutes), but unlike boiling, you can leave the husk on. In fact, word has it that once the corn is cooked, you’ll be able to slip the husk and silk right off instead of having to yank random strands of silk out from between kernels.
Be aware of microwave wattage for this hack, though. The higher the wattage, the less time you’ll need to cook the corn. It’s easier to overcook the corn in a 1200-watt microwave than in a 900-watt microwave, for example. So, if you hear about people ending up with dried-out corn, keep in mind the cooking time and wattage might not have been the best match.
Soften crystallized honey in just a few seconds
It’s completely normal for honey to crystallize — in fact, crystallization can be a sign that the honey is more unprocessed and potentially of higher quality — but that doesn’t make it any less annoying to find when you just want to squeeze a little smooth honey onto toast. Crystallization can be reversed merely by heating up the honey, but the more traditional way of letting the honey container sit in a bowl of warm water can take upward of an hour.
If you want a faster way to melt those crystals, pop the honey in the microwave. You do need to ensure the container is microwave-safe. If you’re not sure, dig out the amount of honey you want with a spoon and place it in a small, microwave-safe bowl or cup. Zap it at 50% power for a few seconds if you’re warming only a small amount. Larger amounts, like entire jars, may need a couple of rounds of 30 seconds each time. Be aware that the honey you don’t use may recrystallize once it cools down, but it can always be heated again. Do note that if you have really fancy raw honey, you may want to use the bowl method as the heating process is much more gentle.
Make quick pickled vegetables
If you want homemade pickled vegetables but don’t want to wait for them to soak in brine for days, the microwave is your friend. This is especially true if you’re making only a serving or two for your next meal. Simply mix your brine ingredients in a microwave-safe bowl and heat them up. Heating times can vary, but try three minutes on high or five minutes at 80%. After that, let the container cool, then store the veggies in the brine in the refrigerator for at least one or two hours for the best flavor.
If you do try this hack, though, make sure the vegetables are submerged in the liquid and never walk away from the microwave while it’s on. The minerals in common vegetables like cucumbers and carrots can cause them to spark in the microwave. This is called ‘arcing,’ and is caused by electromagnetic waves reacting to the minerals. While arcing doesn’t always occur, the risk definitely exists, and it can be quite scary to see.
Froth milk for your coffee
If you want that frothy top on your homemade cappuccino that you’d normally have to go to a coffee house for, you’re in luck. All you need is your microwave, something microwave-safe to use for shaking milk, and low-fat or skim dairy milk with lactose. Unfortunately, whole milk, lactose-free milk, and non-dairy milk don’t respond well to this hack. Whole milk has too much fat, which prevents the milk from foaming up because that fat is relatively heavy. And lactose-free and non-dairy milks don’t have enough protein to foam up well without help from a frother.
You’ve got a couple of different ways to execute this hack. One is to heat the milk in the microwave for 45 seconds, pour it into a jar with a lid, and shake it vigorously. The other is the reverse; pour the milk into a jar, shake it vigorously, and then microwave it after removing the lid. In the second option, the heat in the microwave doesn’t create the foam, but rather stabilizes it so that it doesn’t break back down into slightly bubbly milk.
Make taco shells and tortilla chips
Anyone who’s ever heated a tortilla in the microwave for a few seconds knows that this makes the tortilla softer and more pliable — not exactly taco shell territory. But the secret to this hack is time, and the longer you microwave that tortilla, the harder it will become. Use that knowledge to make your own tortilla chips and hard taco shells, and save yourself a last-minute trip to the store.
For tortilla chips, place a corn tortilla on a flat surface and cut it into wedges. Place the wedges in a single layer on a microwave-safe plate, and microwave them for about a minute. For taco shells, you need something that holds the tortillas in a taco shape. These can be microwave-safe mugs (place the tortillas in the mugs and lay the mugs on their sides) or another microwave-safe item that won’t flatten when you place a tortilla on it. You can even find microwave taco shapers online. Microwave the taco tortillas for about a minute, too. The actual amount of time needed depends on how crispy you want the chips or shells to be, as well as the wattage of your microwave oven. Keep an eye on the tortillas since the more power your oven has, the faster the tortillas will cook and harden — or burn — if you’re not careful.
Make onions less likely to induce tears and sniffling
Some swear this last hack works, while others give it a try and deeply regret it. The basic hack is to microwave an onion before cutting it to reduce lachrymatory factor synthase, which is the compound that brings on those tears. The concept makes sense because heating onions mellow out their sharp flavor and smell. If you cut open a sauteed piece of onion, you don’t cry. So, it makes sense that microwaving a raw onion should have a similar effect, right?
Those who’ve attempted different variations of the hack and reported back online say it hasn’t worked on whole, uncut, unpeeled onions. Microwaving at 30 seconds on high stunk up the room and seemed to increase tears; microwaving at 50% power until the center of the onion reached 158 degrees Fahrenheit (this is oddly specific) also produced a stinky, hot onion that was painful to smell and touch. One other version of the hack involves cutting off the root end, which contains a larger concentration of the tear-inducing compounds, and then microwaving what remains for about 45 seconds. There may be an iteration out there somewhere that works.


