
Keeping your kitchen clean and smelling good can be a time-consuming task. Not only do you have to load the dishwasher every single day, but you also have to wipe down appliances, clean out your pantry every once in a while, and make sure the sink is always sparkling clean (or as close as you can get to sparkling clean, at least). But perhaps one of the most-hated kitchen cleaning tasks to exist is the dreaded fridge clean. Your refrigerator can be a sticky, messy place if you don’t clean it on the regular, which can lead to spoiled food, nasty odors, and even hygiene issues. And whether you make all your meals at home or just use your fridge intermittently, those are issues that you’ll want to avoid if possible.
Therefore, if you want the cleanest possible kitchen, you have to commit to a regular fridge cleaning schedule. Sure, it’s not the most pleasant task in the world, but once you’ve figured out how to do it well and efficiently, it’ll become a less daunting task. We’ve compiled a list of both do’s and don’ts you should keep in mind when you’re cleaning your fridge. By remembering to take certain steps and avoiding some big fridge-cleaning mistakes, your fridge will be as fresh and clean as it was on the day you got it.
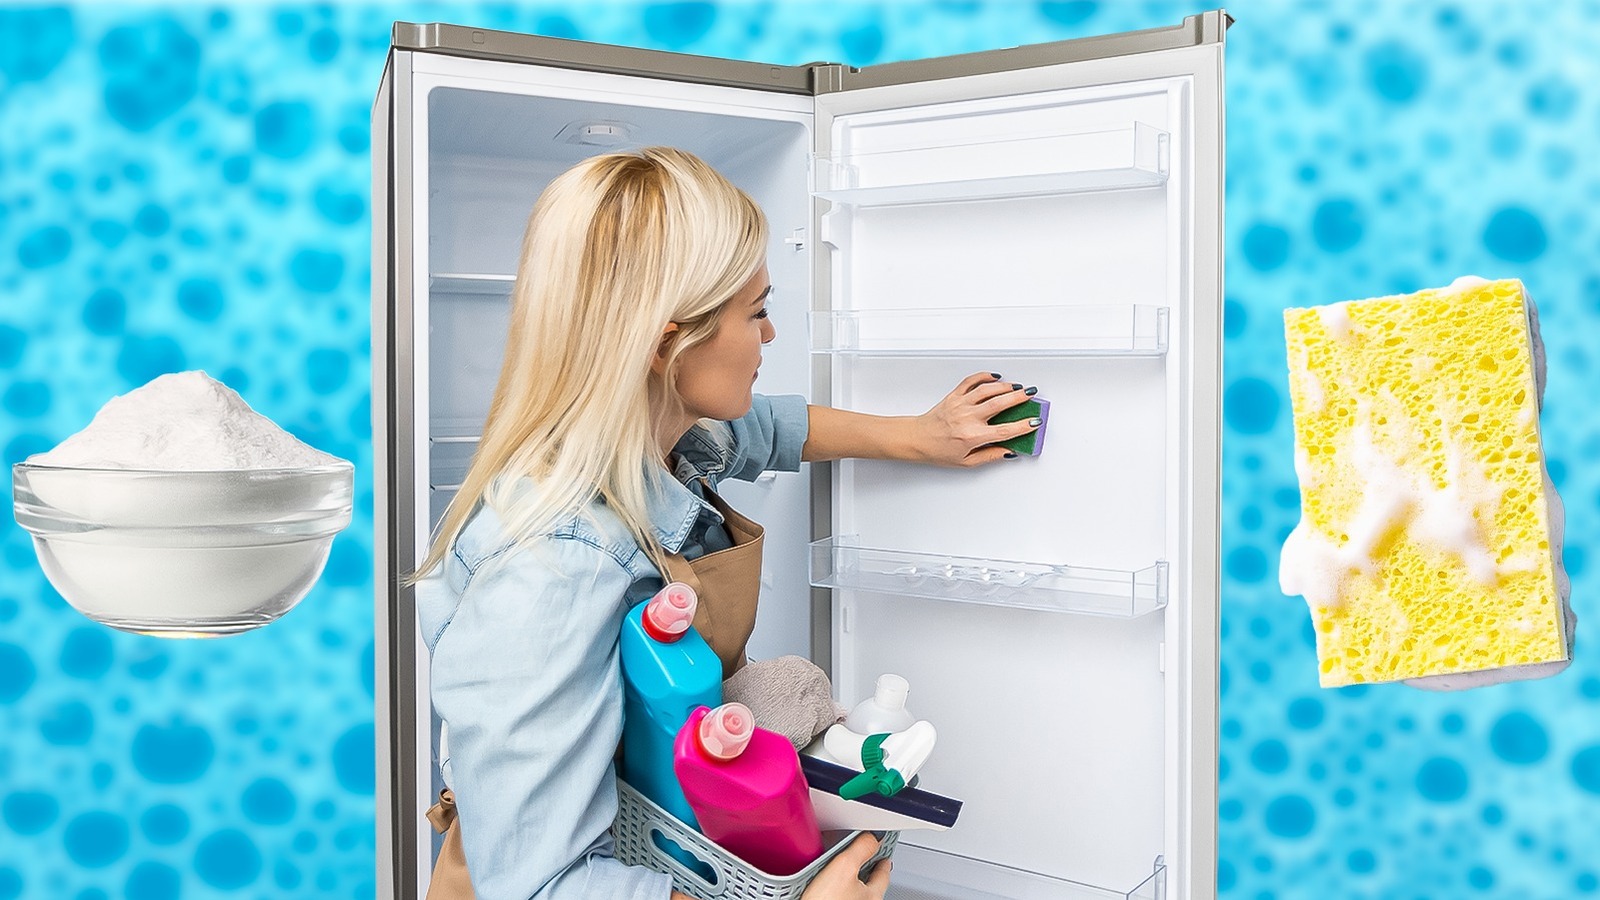
Do: Take everything out of your fridge to clean it
We know, we know; you don’t want to take everything out of your fridge just to give it a deep clean. That adds a whole extra step to the process that you just don’t want to deal with, and it makes a mess of your entire kitchen when you really just wanted to clean one appliance. But, unfortunately, taking everything out of your fridge is the best way to ensure you’re cleaning every nook and cranny of the appliance. Otherwise, you may be left with gunk under old jars of jam, concealed spills on the shelves, and even random crumbs from dried veggies.
Not only does clearing everything out of the fridge better help you see what you’re cleaning, but it also helps you decide what you want to keep and what to throw away. If you leave all that stuff put, you’re likely to keep letting it hang out in the fridge until it actually goes rancid. By having to move every single item, you’re more likely to throw out the stuff that you already know you’re not going to use, saving you from having to clean even more in the future.
Don’t: Forget to put your food in a cooler while you clean
So, what exactly are you supposed to do with all the food you clean out of the fridge while you clean? You may think it’s okay to simply put everything on the counter while you’re scrubbing away, but unless you’re doing a really, really quick clean, this isn’t a good idea. A lot of foods you put in the fridge are perishable, and they can become hazardous to your health if you leave them at room temperature even for just a little too long. And the last thing you want is those delicious leftovers from last night going bad, right? Therefore, you’ll want to find a place to store your food in the meantime.
We suggest using a cooler while you clean. You may not be able to get everything in a single cooler, but you can prioritize food that will go bad faster at room temperature, like meat, mayonnaise, and rice. Other, less perishable foods, like tomatoes or onions, can stay out of the fridge for a few hours without risk of spoiling. Taking this extra step may feel a bit tedious, but it’s definitely better than having your food go bad just because you wanted a clean refrigerator.
Do: Scrub with a sponge and soap
We all have our favorite cleaning tools that we use for different parts of our homes, but there are a few simple, specific ones you’ll want to use for your fridge if you want to get it as clean as it can be. Although cleaning your countertops with a paper towel and some all-purpose spray may be all you need to do after making dinner for the night, a deep-clean in your fridge is going to require something a bit more heavy duty. That’s where the sponge comes in. You’re going to want to use an actual sponge to ensure you’re really getting your fridge as clean as possible. First, dip the sponge into some soapy water. Then, you can get to scrubbing.
Using a soapy sponge may sound like a lot more work than it’s worth, but cleaning your fridge this way may actually cut down on the cleaning time. That’s because other, less intense forms of cleaning may not be strong enough to break down dried-on spills and stains, while a sponge allows you to really scrub those dirty spots away. Keep a small bowl of bucket of soapy water next to you while you scrub, and your fridge will be looking and smelling squeaky clean in no time at all. Don’t forget to clean and sanitize your sponge, too!
Don’t: Simply wipe your fridge down in lieu of a deeper clean
Everyone gets busy, and sometimes, you may not be able to commit to a deep clean of your fridge. During those times, it can be a good idea to simply wipe down the dirtier parts of your fridge to avoid a bigger mess later on. And if you take this step on a weekly basis, you can cut down on the number of major cleans you’ll have to do in your fridge. However, you shouldn’t let these small wipe-downs replace deeper cleans.
By just wiping down spills as they occur, you’re going to miss a lot of the mess in your fridge. Before you know it, you could be opening your refrigerator to a less-than-appealing smell and not even know where it’s coming from. That requires a more substantial cleaning, which means you’re making more work for yourself in the future if you don’t plan regularly scheduled deep cleans. By deep cleaning more often, you’re actually ideally saving yourself time in the long run.
Do: Check expiration dates
There are some foods that make it very obvious when they go bad. If you keep a container of cooked beans in the fridge for several weeks, for example, it’s going to start to smell. The same can be said for vegetables (which you can keep fresher longer with the right tips), as well as raw meat and a ton of other foods. There are other ingredients, though, that you may not notice have gone bad until you actually open them or look at the expiration date. Those types of foods are harder to miss and can make your fridge messier than it has to be.
Luckily, a fridge clean-out is the perfect time to look at expiration dates to see what needs to be thrown out and what should stay in the fridge. That bottle of hot sauce that expired two years ago? Time to trash it. The opened cream cheese that still has a few weeks left before it should be tossed? Use it on your bagel tomorrow morning. This process will give you a better idea of the food you already have in the house and will hopefully prevent you from over-buying the next time you go to the grocery store.
Don’t: Forget to clean the fridge gasket
When you’re cleaning your refrigerator, most of the areas you have to clean are pretty obvious. The produce drawers, for example, may be filled with half-consumed bags of spinach, and you might find random sticky rings underneath salad dressing bottles on the shelves. One part of the fridge that may not occur to you to clean, though, is the gasket. What is the gasket, you ask? It’s the piece of rubber around the door of your fridge that helps create that airtight seal you need to keep your food cold. If you forget to clean it and it has a ton of crumbs and other debris in it, it may not retain a seal tight enough to keep your food fresh.
That’s why you should make sure to clean it at least somewhat regularly. Fortunately, it’s not too difficult to clean — just use the same sponge and soapy water you use for the rest of the fridge. The only exception? If you find mold, you may want to include a bleach-based product in your cleaning liquid, just to make sure nothing funky is growing in those rubber folds.
Do: Use baking soda in between cleans
Ideally, you’d be able to deep clean your fridge once a week for the freshest smelling kitchen situation possible. But for most of us, a weekly deep clean just isn’t going to happen — you have plenty of other tasks you have to complete over the course of a week, after all. But that doesn’t mean you can’t make an effort to keep your fridge fresh on a more regular basis. That’s where baking soda comes in. You can simply put an open box of it in your fridge, and it will help absorb some of those not-so-nice odors that can make your kitchen smell funky.
After you start using a new box of baking soda in your fridge, you should notice fewer smells within a few days. However, you can’t use that same box forever. For the best results, it’s a good idea to replace that box about once every three months. This is such an easy, cost-effective, and low-effort way to keep your fridge as clean as it can be. Another unusual trick for removing odors from your refrigerator is to use newspapers to absorb the smells.
Don’t: Overcrowd your fridge with food
If you love grocery shopping as much as many of us do, then you may find your fridge absolutely packed with food on a regular basis. This is never a good situation, as it usually means you’re forgetting about perfectly good food in the back of your fridge. This can cause you to overspend on items you already have whenever you go to the grocery store again, and it can make it difficult to clean your fridge as often as you really should.
But there are other reasons to avoid an overcrowded fridge. Having too much stuff in there can actually cause airflow problems and reduce the efficiency of the appliance. This can lead to unpleasant odors and may even have you spending more than you should on your electricity bill. For the best results, make sure you clean out your fridge regularly. That way, you’ll avoid that overcrowding that leads to so many other issues in your kitchen.
Do: Move older items to the front of the fridge so they don’t spoil
You know that feeling when you realize that you left perfectly good food in the back of the fridge, covered up by other ingredients you knew you weren’t going to use, only to let it go bad and start to smell? That’s always a bummer, especially if you (like most of us) are dealing with inflated grocery prices. But this is a problem you can avoid if you simply make note of what you already have in your fridge and put it in the very front of the shelf or bin to make sure you see it whenever you make a meal.
Having those soon-to-expire items front and center can motivate you to use them up — or at least to throw them away if you know you’re not going to get to them in time. This reduces food waste, which is good for both the environment and your wallet, and it prevents old food from going bad in the back of your fridge, undetected before it’s too late. Keep rotating foods throughout your fridge to make sure you plan to eat what’s going to go bad first.
Don’t: Forget to clean the refrigerator coils annually
When you think about cleaning your fridge, you’re probably most focused on what’s going on inside of it. You know you have to clean the shelves and the drawers, scrubbing everything until you get all that dried-on gunk off of it. But there’s one important part of your fridge you’re probably not thinking about when you’re planning your refrigerator-cleaning schedule. That part of the appliance is the coils, and they can easily go unnoticed by most fridge owners. After all, they’re not something you see on a daily basis, and it’s not like they’re actually in contact with your food.
But that doesn’t mean you should skip them entirely when fridge-cleaning day rolls around. In fact, it’s incredibly important to clean these coils regularly to make sure that they’re working efficiently. These coils are responsible for making sure your fridge stays at a certain temperature. If they’re covered in dust and dirt, they may not work as well, requiring your fridge to pull a bunch of extra power just to keep your food cold. If you care about keeping your house as clean as possible or just not spending a bunch of extra money you don’t have to spend, then this is an important step to take. Luckily, though, you shouldn’t have to clean the coils that often — about once every year is a good rule of thumb.
Do: Remove drawers to clean them
If you’ve ever tried to clean the drawers of your refrigerator before, you know what a pain it can be. There are so many crumbs and drips that can make their way into those drawers — particularly the lower drawers — and it can feel impossible to get them all with nothing more than paper towels and a sponge. Therefore, for best results, it’s a good idea to actually remove those drawers from the refrigerator to clean them properly. Can this process feel like a hassle? Absolutely. But it also allows you to clean those drawers in the sink, which makes the task easier, despite having to haul them from one end of the kitchen to another.
We generally like to soak those drawers in hot, soapy water before scrubbing them, as this softens any sticky gunk attached to them and makes the cleaning process much less taxing. Once you’ve let them hang out in that soapy water for a while, you’ll be able to scrub them easily, and they’ll be fresh in no time. Just make sure you allow them to dry fully before you put them back in the fridge.
Don’t: Forget to wipe down the exterior of the fridge
The hardest, most time-consuming part of cleaning your fridge is definitely handling the inside of the appliance. After all, this is where you store the food, which causes it to get messy easily. And since that’s the area that requires the most work, it’s easy to just put all your focus on the interior and forget about cleaning another part of your refrigerator. However, it’s important to make sure you’re cleaning the exterior of the fridge as well. After all, dirt and oil can also build up on the outside of the fridge, even if it doesn’t get quite as dirty as the inside.
Blessedly, cleaning the exterior of your fridge is much easier than cleaning the inside of it. All you really need to do is take a wet rag, preferably with some soap or other type of cleaning agent on it, and wipe down the outside of the fridge thoroughly. Pay special attention to high-touch areas, like the handle, to ensure the most thorough clean. Once you’ve completed this step, you can move on with your life (or your cleaning schedule), confident that your fridge has never been fresher.


